Sunday, September 14, 2014

Ahklut: Early WIP

The Ahklut: concept art

Disclaimer: I'm backing another Kickstarter (Warrior and Spirit beast Models by Paymaster Games). I want it to succeed. Hopefully a look at a miniature from Paymaster's first Kickstarter will further the current campaign.

With that out of the way, it's time to look at some shiny metal bits.

Reaper mini shown for scale

The subject is refreshingly original: the Ahklut, a shape-changing whale/wolf hybrid from Inuit myth. The mini comes in four pieces: right body, left body, head, and lower jaw. While the components fit together quite nicely, some putty work will be required to deal with the joints. No big deal.

That slender ankle supports the whole shebang

Two small concerns: 1) The entire mini is attached to the base only by the right, rear leg. Some extra care is needed when handling this guy. 2) The mouth is open but there's no tongue to be seen. The tongue seems pretty prominent in photos of open mouthed orcas; some remedial sculpting may be required.

The trailing edges of the flukes are a bit thick. One side has been filed down. the other to follow.

Nit-picking aside, the miniature's strong points are many: subject, pose, fit, casting quality. A very nice piece overall. It should be a fun build.

A green from the current campaign

Sunday, August 31, 2014

A Mule of a Different Color


The dog days of Summer have passed and it's been quiet in the paint-cave. Too quiet.  There's not a lot to show except this month's Helping Hand Challenge subject: The Mule. (To see the work of the other HHC participants, check out Duke of the Blood Keep and Deviant Design Deeds.)

The mini is from Otherworld; a fine piece with two peculiarities that bear mentioning. The first is the shield which on my example was badly concave (an issue with the casting as opposed to the sculpt, no doubt). I feared that this would stick out like the proverbial sore thumb but once painted it's barely noticeable.

Green & white checks are all the rage this season.

Also, his left legs are a bit shorter than his right. Without addressing this, he'd either wind up listing to one side or standing up straight with a couple hooves off the ground. Two poor options IMHO. I built the base from cork and after much shimming and test-fitting all was put right.

The base on the left required special attention for the mule to stand properly.

After a little web-searching I was pleased to learn that mules come in a variety of colors. I passed on the typical Bay or Sorrel and went with the Palomino option.


The base-color for the coat was Vallejo Brown Sand with some grey added. This was highlighted with Reaper Stained Ivory and a mix of Stained Ivory and Vallejo Ivory. The white markings are Reaper Polished Bone. Shading was achieved through repeated glazing with AP Strong Tone, GW Seraphim Sepia, and a touch of black.

The shading technique (not to mention the NMM) reflects the fact that I recently received (and viewed... mostly) my DVDs from James Wappel's Discover the Painting Pyramid Kickstarter. Only five disks for yours truly but a lot of very useful stuff nonetheless.


A first for me... NMM steel that doesn't suck
And now... more pictures:


Thursday, July 31, 2014

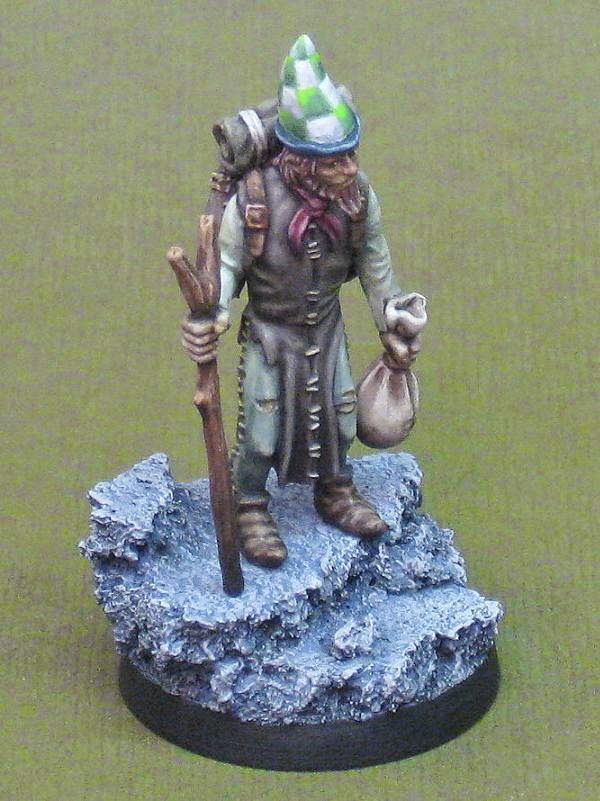
The Man in the Lime-Checkered Hat

Where did that goldurnded mule get off to?

The last day of the month means it's time for the latest episode of the Helping Hand Challenge. July's subject is the mule handler. The mule seems to have wandered off but with a little luck he'll turn up in time for next month's installment.

The excellent work of the other participants can be seen at Duke of the Blood Keep and Deviant Designs Deeds.

With stitching...

and without

The conical (comical?) hat featured on this mini seemed a good place to play around with some freehand painting. I first removed the prominent stitching detail to provide a clear area to work on.  It took two attempts but I wound up with a pattern that mirrors the shield borne by the camera-shy mule.

Having settled on a gaudy hat that reflects his employer's coat of arms, it seemed appropriate to keep everything else subdued and grubby.

Coasters put to good use.

Tall base = long pin.

The bases mark my first attempt at using cork. A very useful material it seems. Also my first use of gesso (black in this case) which did an admirable job of preparing the cork to receive acrylic paint.

It's late, I'm tired, and I'm quickly running out of July. So, without further ado... some pictures:


Sunday, June 29, 2014

Summertime and the Livin's not Easy


The end of June can only mean two things... Summer has arrived in these parts and it's time for the first entry in the Helping Hand Challenge. (Be sure to check out the other participants at Duke of the Blood Keep and Deviant Designs Deeds.)

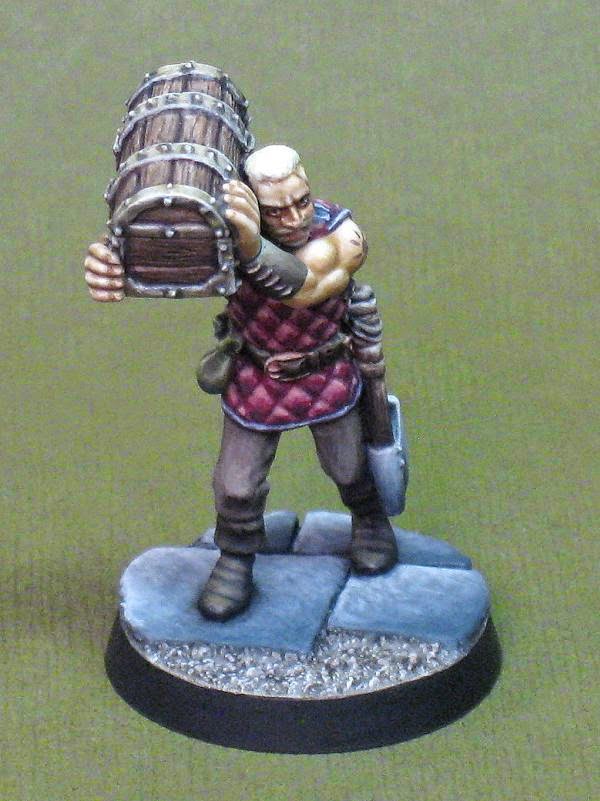
With his bronzed complexion, beach-blonde hair, and sun-worshiper tattoo, Otherworld's porter appears ready for a day down the shore. One can only speculate the chest he carries contains either beer or self-tanning products.

Appearances can be deceiving. This guy's more likely to spend his day hauling others' loot from the depths of the earth. Such is the lot of a hireling.


Leather, wood, & brass painted first
 
Typically I paint skin, then clothing, then everything else. Here the presence of the chest and bracer right up against the face called for a different approach. I poked into the least accessible areas with black, painted the chest and bracer fully, and only then moved on to the skin. Had I followed my usual progression I'd likely still be doing touch-ups and cursing profusely.


The colors used for the principle skintone are pictured above. Reaper's Bloodless Skin was worked into the highlights. Previous attempts to paint undead with a mix of "zombie" and "normal" skintones taught me that sometimes a little green can actually make a mini look more alive.

Some additional glazing provided the five o'clock shadow and the reddish tones on the cheeks and nose.


The tattoo was painted with a mix of purple and Reaper's Bronzed Skin. I kept it simple... in general, my freehand technique needs some work and I didn't want to push my luck.

Colors used on the padded armor

As the HH Challenge moves forward I hope to experiment with techniques that I have previously shied away from (freehand, object source lighting, and NMM to name three). On this mini I tried my hand a some NMM in particular. Hopefully the hardware on the chest looks like brass, the buckles on the armor and belt look like copper, and the axehead looks like steel.

Enough chatter. It's time for some pictures.


Saturday, June 21, 2014

PTS IV: Very Hush Hush


The Helping Hand Challenge has commenced with the first of twelve minis under the brush. Regrettably, I was unable to sneak a WIP image past the censors. Confounded censors... some rubbish about national security and saving pictures for the big reveal at the end of the month. 

Who am I to argue?